Tuesday, May 16, 2006

Wow - major problems *already*

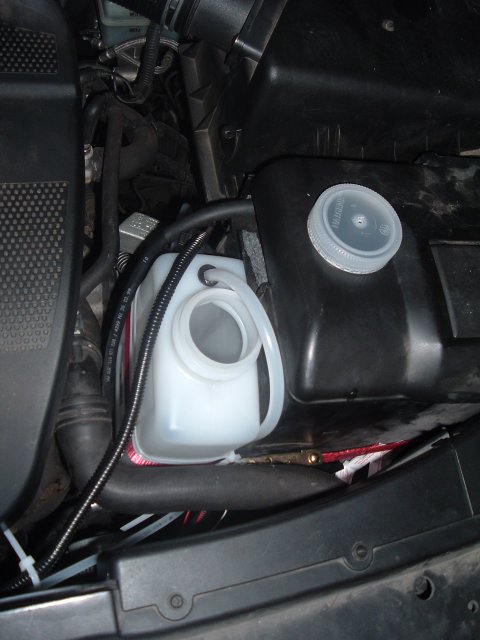
Wouldn't you know it, but as soon as I relocate the washer reservior I start getting problems. Some troublesome, some outright problematic. The short list:

  1. An air gap would appear in the line, preventing the pump from working properly.
  2. There appeared to be a parasitic drain issue, killing the battery overnight.
  3. The fluid hose would leak at several places.
  4. Electrical tape pulling loose at several solder joints.
I've definitely learned a lot by this simple procedure. Some key takeaways:

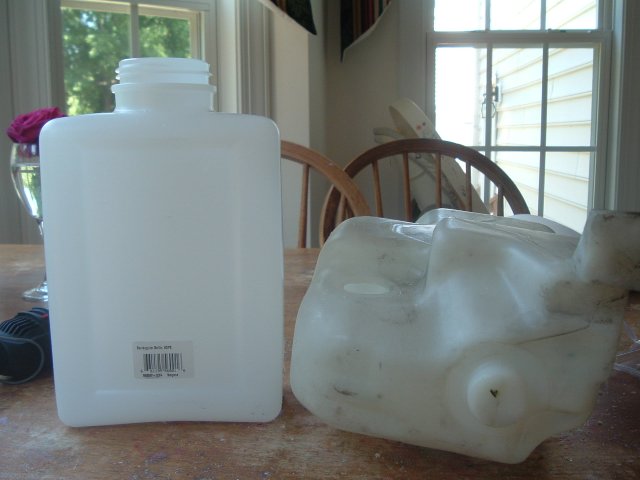
  1. Relocate the resevior intake line to the side-bottom of the bottle. The hose no longer loops over the top, rather it all stays low.
  2. Use only minimal solder - too much creates resistance issues in circuits.
  3. Stay away from the electrical tape - shrink tube is much cleaner and a hell of a lot more effective.
  4. Two words - compression adapters. Thinking that simply sliding a 3/8" tube inside a 1/2" adapter tube was stupid.
Anyway, all of this was solved. Bottom line - do it right the first time and stop taking stupid shortcuts. It's defintely a cheap lesson learned at this early stage.

Monday, May 08, 2006

Now there's plenty of room...

Posted by Picasa

Here's why I went through the trouble. Now I have a pretty big space to insert my WVO components. Most of it will in fact get fitted into this space. It will be tight!

Another view...

Posted by Picasa

Here's a wider view of the entire engine compartment. Overall, it looks pretty good!

A view of the washer reservior installed

Posted by Picasa

And here it is installed next to the battery. It's a *perfect* fit. Notice the red tie-down strap with a ratcheting tightener. It goes all the way around the battery compartment. You don't see it here, but I have the pump secured to the other side with 2 zip ties.

The tube comes out of the container, under the tank, and finally connecting with the bottom of the pump. It works pretty well once the entire fluid line is primed, but it eventually gets a large enough air bubble at the top of the container to force a long pump time to get things started each time. The ultimate goal is to minimize this hose length. I'll have to rework this eventually.

My new windshield washer reservior

Posted by Picasa

Here's a shot of the Naglene bottle with the "low fluid level" sensor installed. That part was easy - especially if you have high speed rotary tool. Just cut a comparable hole (1"), take the rubber grommet out of the OEM tank, and plop it in with the sensor. But don't cut the hole too big, otherwise you'll be forced to break out the silicone sealant. Don't ask me how I know. ;->

The conversion has begun!

Posted by Picasa

Alright - it's time to get my nose out of the books and back where it belongs - under my car hood. After quite of bit of research I determined that the best place for all the components in a Jetta (A4) is as close to the injection pump as possible. The problem is there is limited room to place all of this stuff, especially the heated fuel filter and/or heat exchangers. You see, those things get quite large depending on what you go with.

Then I found this site. What a great idea! Relocating the the windshield washer reservior fixes the bulk of the space issues. The only problem is the OEM bottle is simply too large to move. Time to build my own. ;-)

The Nalgene bottle you see here is almost perfect. It's large enough to hold a reasonable amount of fluid, *very* durable, and it fits in quite well near the battery. I'm happy...